CRM (GoHighLevel)
Unlimited users + 1 sub-account built out
Set up your GoHighLevel CRM with unlimited team members and a fully configured sub-account. This comprehensive guide walks you through creating sub-accounts, managing users, and configuring permissions to maximize your CRM's potential.
Create the Sub-Account
Access Agency Dashboard
Log into your GoHighLevel agency account using your admin credentials.
Navigate to Sub-Accounts
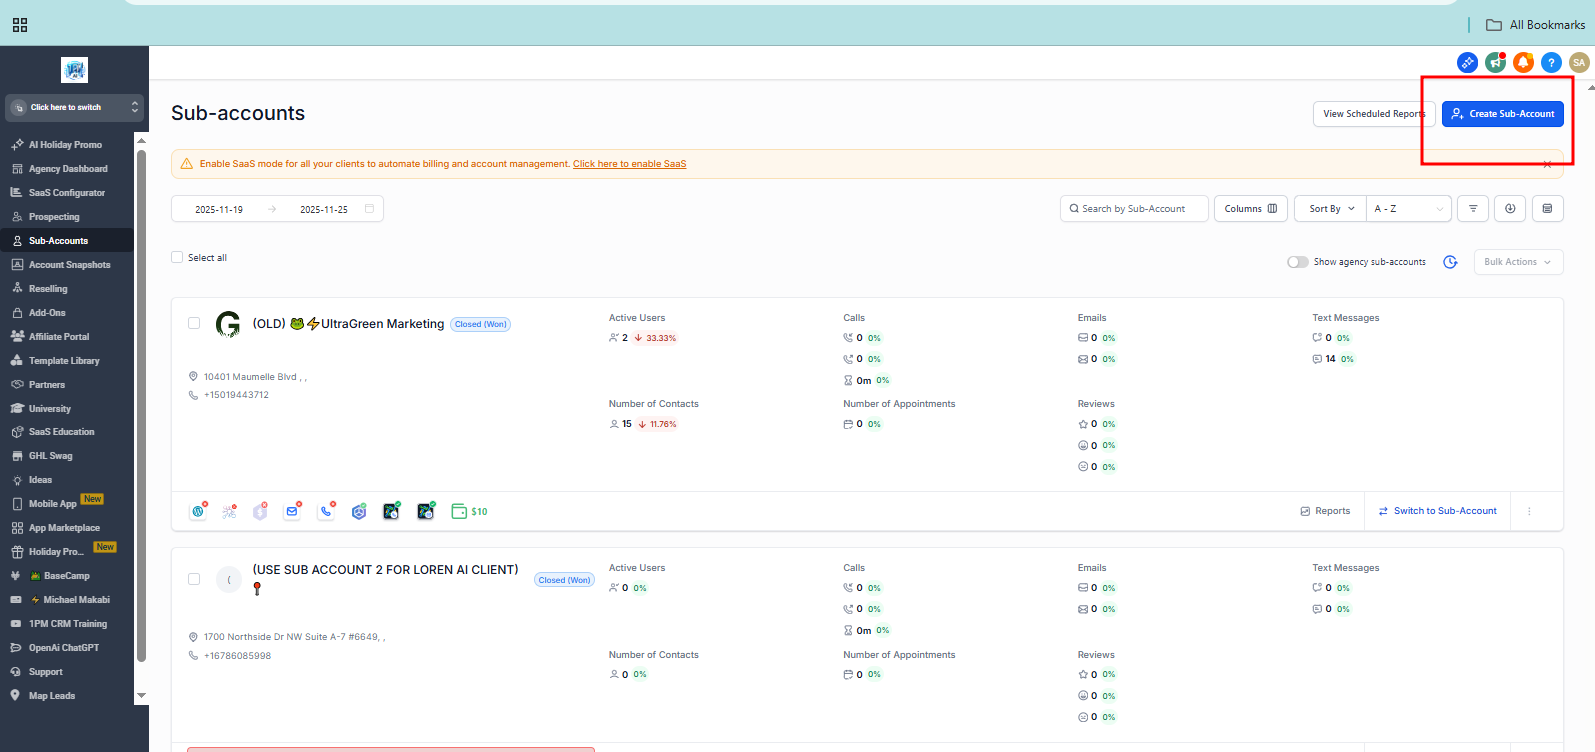
On the left sidebar, click on the Sub-Accounts menu to view all existing locations.
Add Account
Click the + Add Account button to begin creating a new client sub-account.
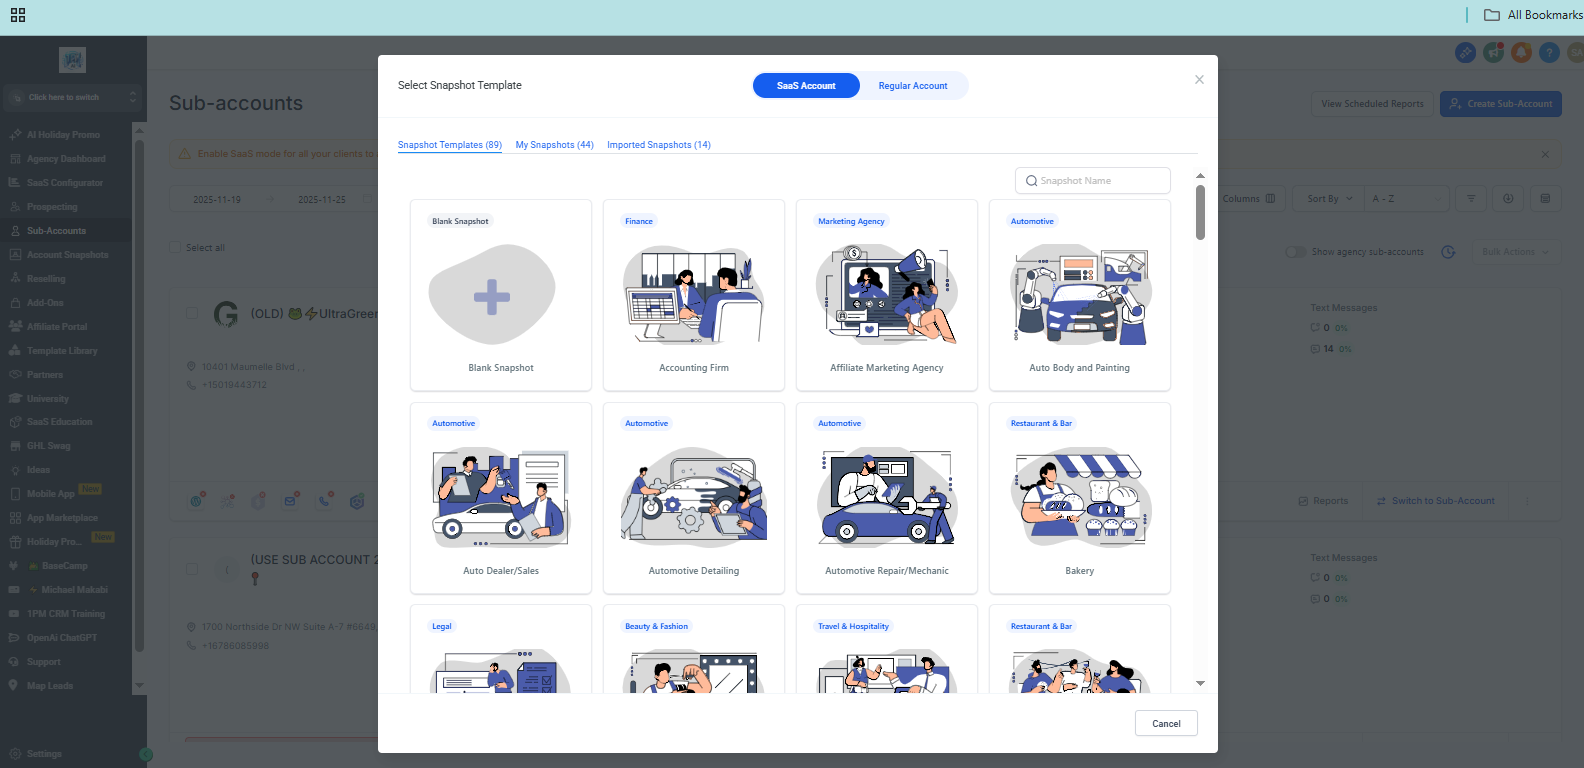
Choose Setup Path
Use Snapshot:
Select an existing Snapshot if you want a pre-configured setup that includes funnels, automations, calendars, and settings.
Build From Scratch:
Choose the "Start from scratch" or blank option if you want to manually build everything.
Enter Business Details
Fill in the client's business information. These details auto-populate emails, reports, calendar notifications, and templates:
- Business name
- Email address
- Phone number
- Location

Save and Launch Sub-Account
Click Save to activate the sub-account. You can now switch into this new sub-account directly from your agency dashboard to begin customizing it.
Add Unlimited Users to the Sub-Account
Switch to Sub-Account
From the Agency Dashboard, use the location dropdown to select and enter the newly created sub-account.
Go to Settings
In the left sidebar of the sub-account, scroll down and click Settings to open the configuration menu.
Access Staff / Team Management
Click on the My Staff or Team tab to manage users inside the sub-account.
Add New User
Click the + Add User or + Add Employee button located in the top-right corner.
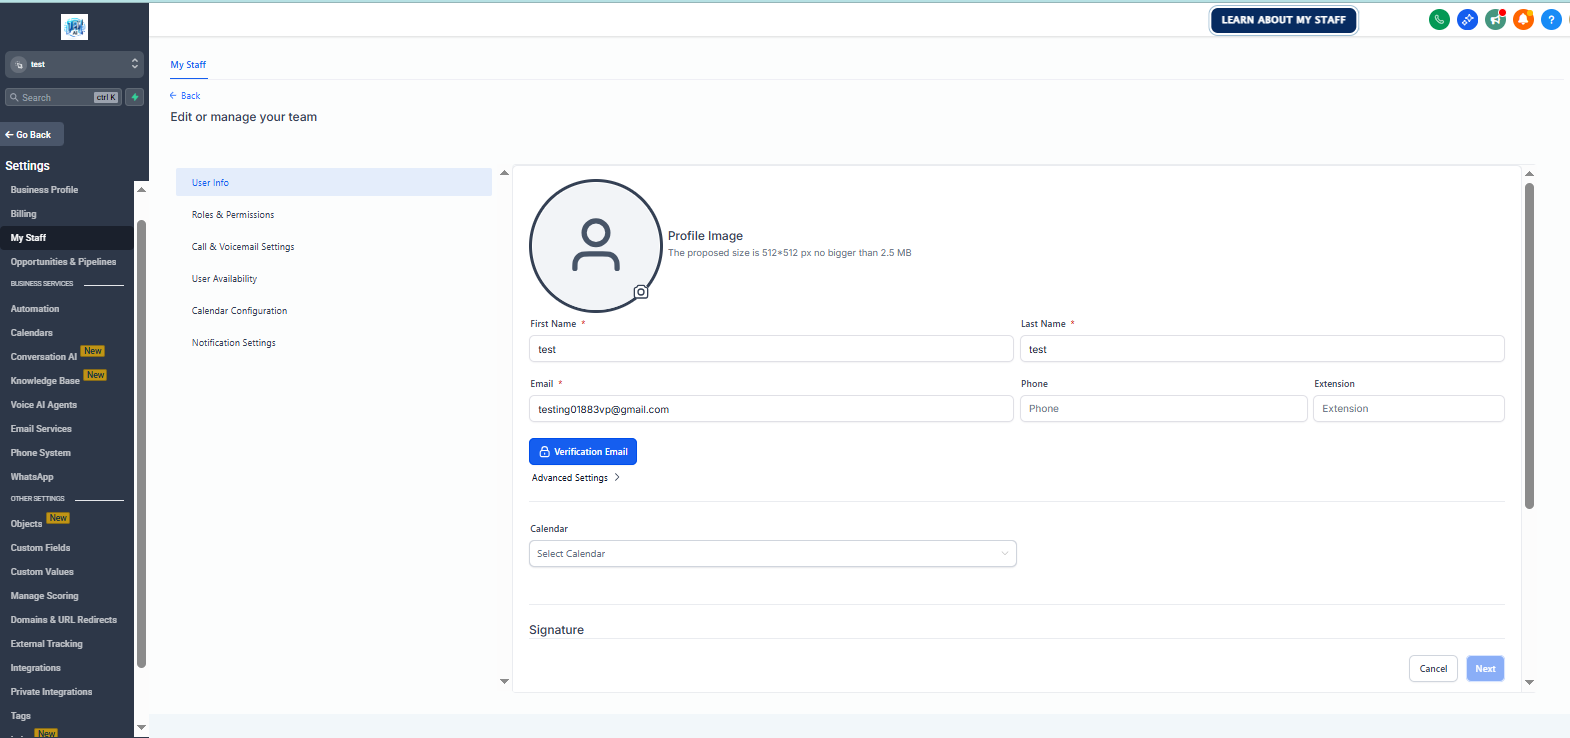
Fill in User Details
Provide the team member's information:
- •Full name
- •Email address (used as their login)
- •Phone number
- •Password (optional—users can set their own through the login email)
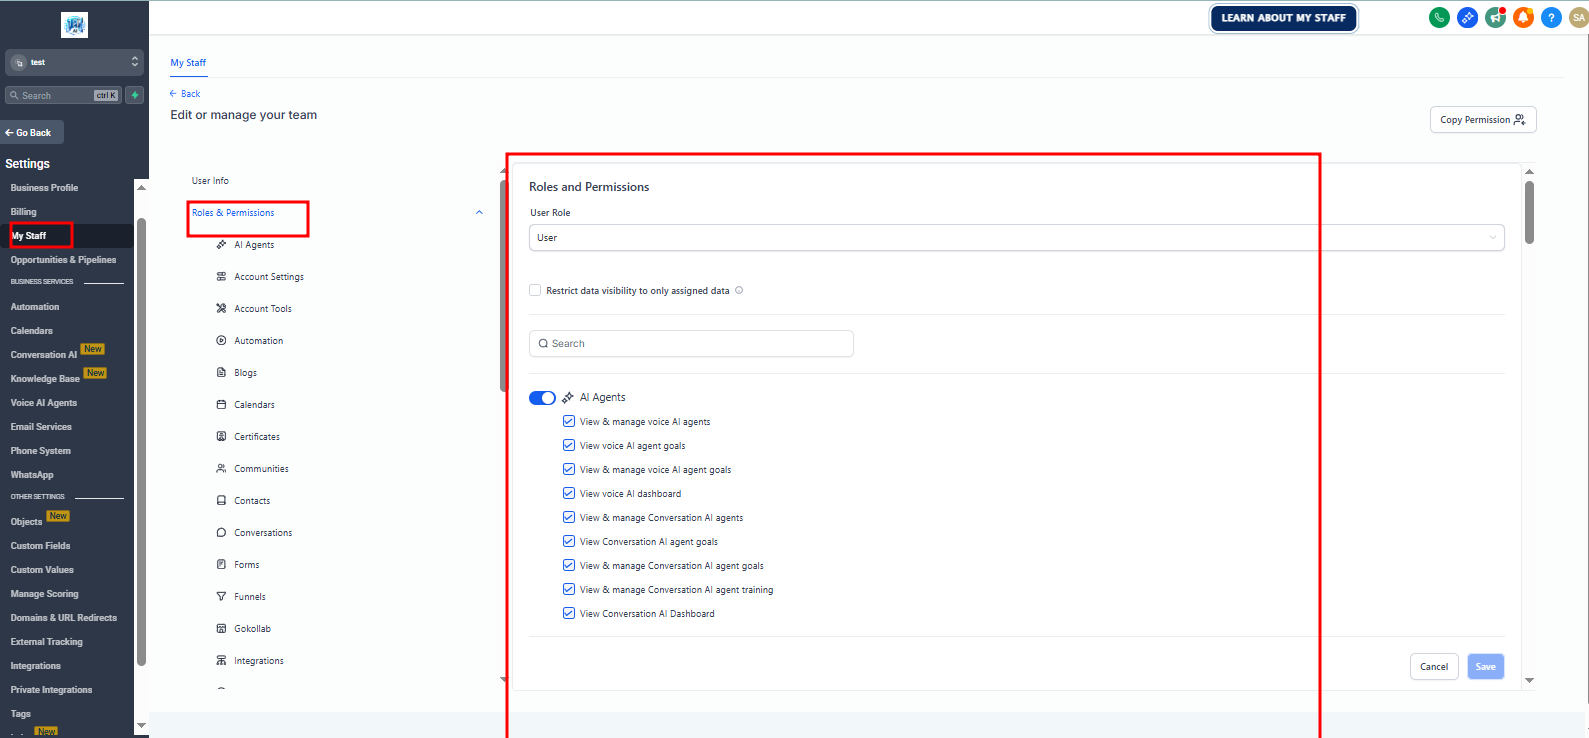
Configure Roles & Permissions
Go to the Roles and Permissions section:
Admin:
Grants full unrestricted access to all tools and settings.
User:
Provides limited access; use toggle switches to enable or disable modules such as Conversations, Opportunities, Payments, Funnels, Marketing, Automations, etc.
You may also restrict users to only see data (leads, opportunities) assigned specifically to them.
Save Changes
Click Save or Update to confirm the user creation and apply permissions. The new user will now receive an email with login details and immediate access.
A2P 10 DLC Registration Guide
Each account comes fully registered under A2P 10DLC compliance.
How to Create a Calendar in GoHighLevel (GHL)
Step 1: Open Your Sub-Account
Log into your GoHighLevel Dashboard. Click on the Sub-Account where you want the calendar.
Step 2: Go to Calendars
In the left sidebar, click Calendars. Then click Calendar Settings (or View Calendar depending on the version).
Step 3: Create a New Calendar
Click "+ Create Calendar" or "New Calendar"
Choose Calendar Type:
- •Round Robin - Distributes appointments evenly among team members
- •Collective - All team members see all appointments
- •Class/Group - For group sessions or classes
- •Simple/Individual - Single user calendar
Choose the one that fits your booking style.
Step 4: Calendar Setup
Fill out the following sections:
1. General Settings
- •Calendar Name
- •Description (optional)
- •Assign to a user or team
- •Event Color
2. Booking Form Fields
Choose what info you want to collect:
- •Name
- •Phone
- •Custom questions
3. Availability
Set:
- •Days of the week
- •Working hours
- •Buffer time
- •Minimum scheduling notice
- •Appointment duration
4. Confirmation Settings
- •Email confirmations
- •SMS reminders
- •Reschedule/Cancellation link
5. Integrations
Connect:
- •Google Calendar
- •Outlook
- •Zoom
- •Google Meet
Step 5: Save the Calendar
Hit Save. Your calendar is now created.
Step 6: Add the Calendar to a Funnel or Website
Go to Funnels or Websites
Edit the page
Click Add Element
Choose Calendar
Select the calendar you created
Save & publish
🎉 Your calendar is now live!
If you want, we can also help you create a step-by-step video guide, provide embed code, set up multiple calendars, or add custom styling.